How to Find Missing Images in Dexis
This only works for Dexis Version 9.
- Select your patient in Dexis
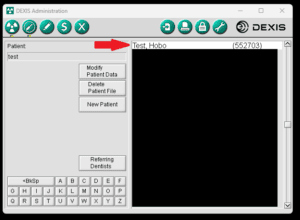
- Hit the “Import Images” Button, also take note of the patient ID. In this case it is 552703

- Make sure you are starting from the DATA folder. Dexis usually opens in Dexis\Comm so make sure to remove “comm” when you start. See below.

4. Now that you are in Dexis\Data folder – starting with “5” double click that folder. That “5” corresponds to the first digit in our patient ID – 552703
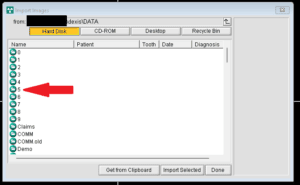
- Our next digit in the patient ID is also 5, so we double click that folder that is within “5” from last time.
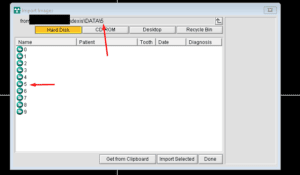
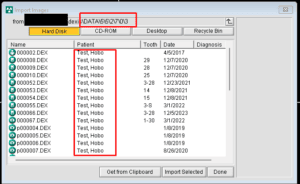
- We keep doing that until our file path matches the patient id. 552703 will be located in Dexis\Data\5\5\2\7\0\3 you should also see the patients name next to the images. Select the images that are missing and hit import selected. (Press and hold CTRL while selecting the images to select multiple).
